1. Add New Terms
Click the “Add New Terms” button located at the top of the page
You will be redirected to the Create Terms page.
On the Create Terms page:
Enter the term details (e.g., name, description, content).
Configure settings such as display location (e.g., Registration, Checkout) and design preferences.
Click Save to create the new term.
Once saved, the new term will appear in the Terms List with its default status set to Active.
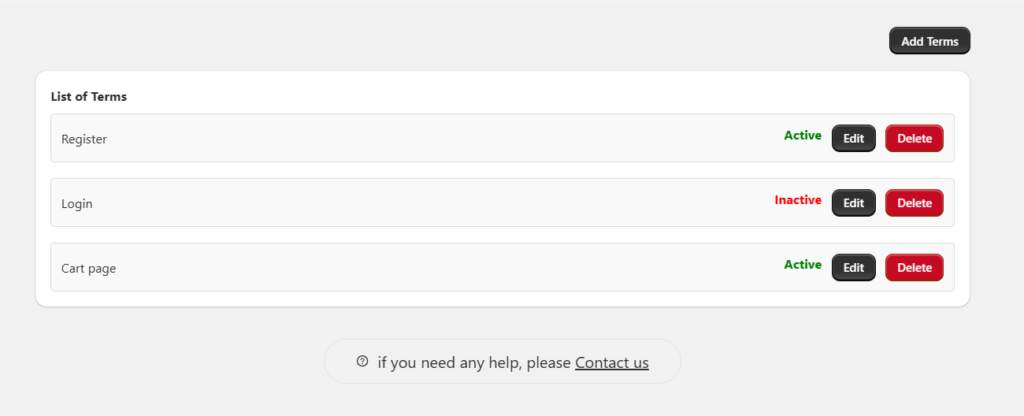
2. View Terms
Navigate to the Terms List Page from the app dashboard.
You will see a table displaying all your created terms, including key details such as:
Term Name Type (e.g., Registration Terms, Checkout Terms)
Status (Active/Inactive)
3. Edit a Term
Locate the term you want to modify in the list.
Click on the Edit button next to the term.
This will open the Edit Term page, where you can:
Update the term content.
Change settings such as product targeting, country-specific rules
After making changes, click Save to update the term.
4. Delete a Term
To permanently remove a term:
Click the Delete button next to the term you want to remove.
Confirm the deletion in the popup dialog.
⚠️ Note: Deleted terms cannot be recovered, so double-check before deleting.
5. Check Term Status
Each term displays its current status:
Active: Terms currently visible and enforced on your store.
Inactive: Terms that are saved but not active.